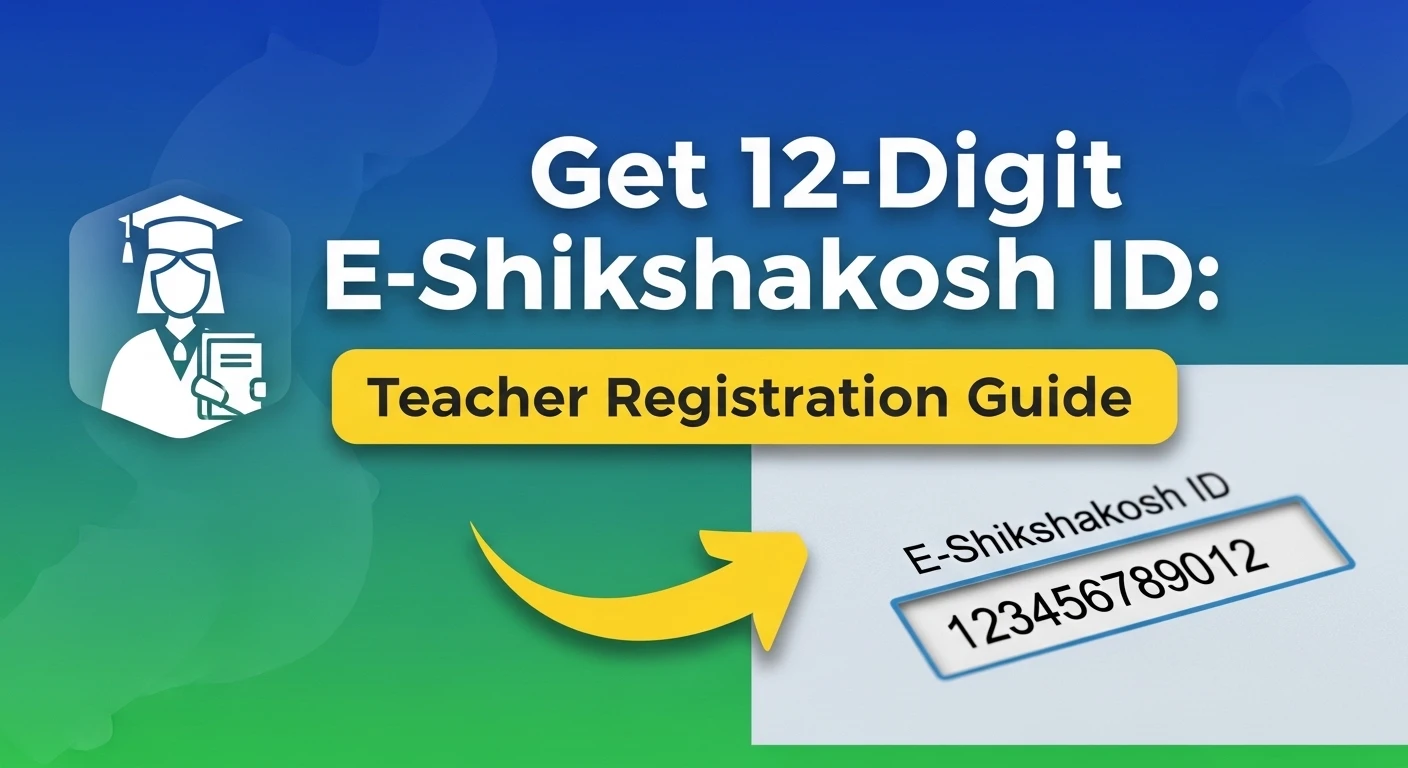
Get 12-Digit E-Shikshakosh ID: Teacher Registration Guide
Talk to any new teacher who joined after TRE 3.0 and at some point the conversation will come around to that 12-digit ID — specifically, how long it took to get it sorted. Without it, the app doesn’t know you exist. No attendance, no pay slip, nothing. You’re essentially invisible to the system until that ID is verified and active.
What catches most people off guard is how much the process has changed. It’s not a simple form anymore — there’s a whole verification chain now, going through BEO, then DEO, and if something in your DCF doesn’t match exactly, it just sits there. Weeks pass. Sometimes months. And the worst part is you often don’t even know where it’s stuck or why.
I’ve seen teachers fill everything out genuinely, carefully, and still get held up over a single mismatch in their documents. So this isn’t about just “follow the steps” — it’s about knowing where the process tends to break down before you submit, not after.
The Foundation: Temporary ID vs. Permanent 12-Digit ID
Many teachers get confused when a 6-digit or 10-digit number arrives by SMS — they think that’s the ID they’ve been waiting for, and then wonder why the app still won’t let them log in. These are two completely different things:
- Temporary ID: Generated the moment you click “New Registration.” It allows you to log in to the portal to fill your profile. It cannot be used for the mobile app or attendance.
- Permanent 12-Digit ID: Generated only after your District Education Officer (DEO) clicks the final “Approve” button. This is the ID that stays with you for your entire career in Bihar.
Step-by-Step Registration Process
The registration is a “bottom-up” process. Follow these exact phases to ensure no technical glitches:
Phase 1: Initial Signup (Mobile & Aadhaar)
- Go to the official portal: eshikshakosh.bihar.gov.in.
- Click on “Teacher Registration.”
- Enter your Name, Date of Birth, Gender, and Social Category exactly as they appear on your Aadhaar Card — not your BPSC certificate, not your college documents. If your Aadhaar says ‘Md.’ and your certificate says ‘Mohammad,’ use what Aadhaar says here. The mismatch check happens at the DEO level, which means you won’t find out about it until weeks after submission.
- Enter your Mobile Number and click “Send OTP.” Once verified, you will receive your Temporary User ID and Password via SMS.
Phase 2: Filling the 11-Page DCF (The Most Important Part)
Log in using your temporary ID. You must now fill out the Data Capture Format (DCF), which is divided into 11 sections. Be extremely careful with:
- Joining Details: Enter your BPSC Roll Number and Joining Letter dispatch number correctly.
- Bank Details: Double-check your IFSC code. A single wrong digit here will halt your e-PMS salary processing.
- Document Uploads: You must upload scans of your Appointment Letter, Aadhaar, and Educational Certificates. Ensure they are clear and under 400 KB in size.
Phase 3: The HM Forwarding
Once you click “Final Submit,” your profile moves to your Headmaster’s (HM) Dashboard.
- Action Required: You need to physically remind your HM to do this — sending a message is not always enough. Sit with them at the school computer if needed, because the HM login sometimes requires its own UDISE password reset before they can even access the forwarding screen. Give them 48 hours after your final submission, then follow up in person. If a week passes with no movement, check the portal — if the status still shows ‘Submitted, Pending HM Action,’ escalate politely to your BRC cluster coordinator.
The Approval Hierarchy: From BEO to Permanent ID
Your ID generation depends on two levels of government verification:
- BEO Level (Block): The Block Education Officer checks your school-level data against the district’s recruitment records. If something doesn’t match, they return it as ‘Reject with Query’ — which sounds final but isn’t. You log back in with your temporary ID, correct the specific field they flagged (it will be noted in the query), and re-submit. The entire 72-hour clock restarts from this re-submission. You don’t fill the whole DCF again — only the flagged section needs correcting.
- DEO Level (District): Once the BEO clears it, the District Education Officer performs the final check.
- ID Generation: Upon DEO approval, the system automatically generates your 12-digit Permanent ID. You will receive an SMS, and your status on the portal will change from “Pending” to “Verified.”
What “Returned with Query” Actually Means — and How to Respond
Returned with Query” is the status that causes the most confusion among new teachers — and the most unnecessary panic. It sounds like a rejection. It isn’t. It means someone in the chain found a specific discrepancy and sent it back for correction. Your registration is not cancelled. Your data is not lost. You just need to fix one thing.
When you see this status, log in with your temporary ID and look for a Query Remarks section inside your DCF. The BEO or DEO who returned it is required to write the reason — it will be short, often just a field name, but that tells you exactly what to correct.
The most common reasons this happens:
Your BPSC joining letter has your name spelled one way and your Aadhaar another. Fix the DCF to match Aadhaar — not the joining letter, always Aadhaar. Your bank IFSC code has a digit wrong. Your uploaded appointment letter is a photo instead of a scan, and the text is not legible enough for verification.
Correct the specific field, re-upload if needed, and re-submit. The 72-hour clock restarts from the moment you re-submit. Do not re-fill the entire DCF — only the section containing the flagged field needs touching.
One thing most teachers don’t know: you can be returned with query more than once. If the second submission also has an issue in a different field, it comes back again. This is frustrating but not unusual, especially for teachers whose documents have inconsistencies across different certificate-issuing years.
Solving Common Registration “Nightmares”
As a digital education analyst, I run into the same three problems every few weeks from teachers across different districts — different schools, same exact errors:
- Error: “Mobile Number Already Exists”: This usually happens if you were previously a Niyojit teacher and have now joined as a BPSC recruit. The Fix: Do not create a new ID. Ask your previous BRC (Block Resource Center) to “release” your old ID so your new school can “map” you.
- Error: “Aadhaar Authentication Failed”: Check two things in this order. First, your name on the portal must match Aadhaar character for character — including middle names, initials, and spelling. ‘Ram Kumar Singh’ and ‘R.K. Singh’ are not the same to the system. Second, if the name matches but authentication still fails, your Aadhaar may be linked to an old mobile number you no longer use. You need to visit an Aadhaar Seva Kendra and update the linked number before the portal will verify you — there is no workaround for this.
- Stuck at “Pending” for 15+ Days: If your profile is stuck at the BEO level, visit your BRC with a physical copy of your DCF and joining letter. Sometimes a manual nudge is required for the digital approval.
FAQs
Can I mark attendance while my ID is “Pending”?
No. You must continue marking your attendance in the physical register until your 12-digit ID is generated and synced with the app.
How long does the entire process take?
If your HM forwards within 48 hours and the BEO has no queries, you can have your permanent ID in 7–10 working days. In practice, most teachers wait 3–6 weeks — not because the system is slow, but because the HM forwarding step and the BEO review step each have no automatic deadline. There’s no notification sent to your HM reminding them to act. You are the reminder. Follow up at each stage rather than waiting for the system to move on its own.
What if I lose my temporary ID before getting the permanent one?
Use the “Forgot Password” link on the portal. You will need your registered mobile number and Aadhaar to recover it.